The Winter and Summer Olympics are awaited eagerly by both viewers and athletes across the world. We get to witness amazing feats of athleticism and elite performance across all kinds of sports! For a competing athlete, the Olympics can be everything to them. It’s the ultimate goal, allowing them to push through pain, injuries and intense stress, all for the chance to prove themselves on the world stage. For one incredible Team USA athlete, their leadup into the Olympics was one of resilience and determination. This is the story of Lindsey Vonn.
What is Lindsey Vonn’s story?
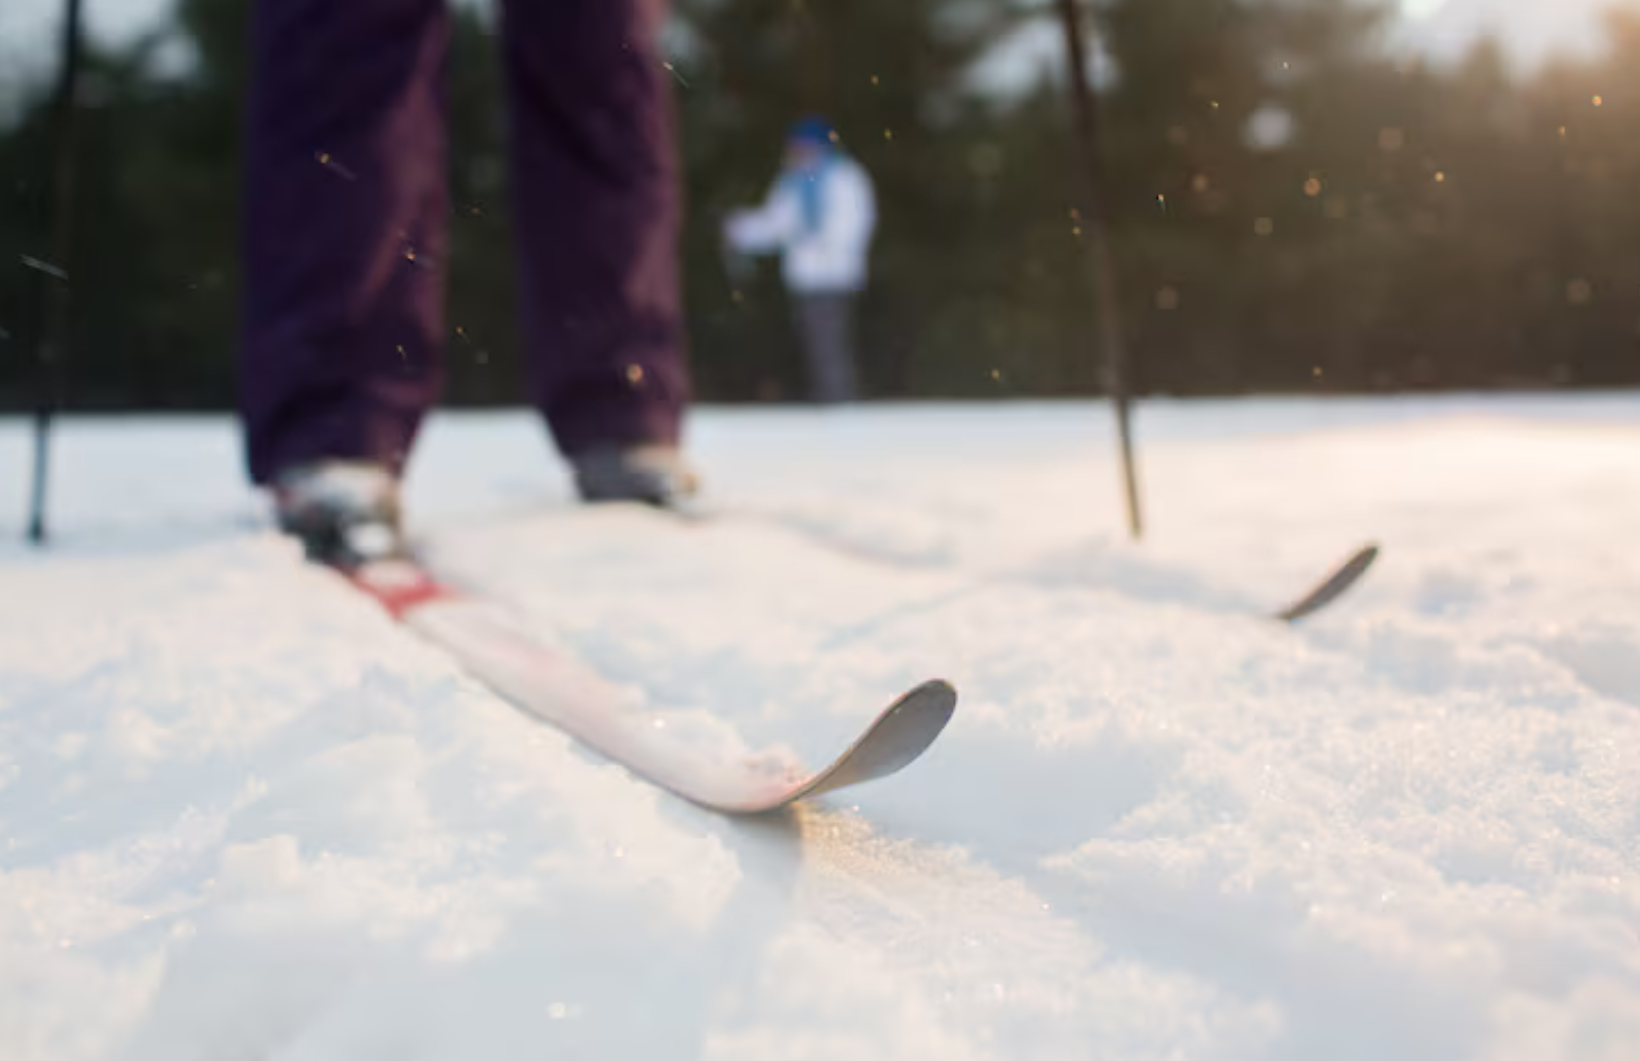
Lindsey Vonn is one of the most decorated alpine skiiers in history, winning over 84 World Cup titles across different disciplines of alpine skiing. She has consistently been competing (and competing successfully!) at the highest level despite numerous and severe injuries including fractures and ligament tears. She made a decision to retire in 2018, citing her history of injuries. However, she decided to return to competitive skiing in 2024 after receiving a knee replacement surgery. She became the oldest downhill skiing World Cup winner in 2024, at the age of 41. This brings us close to the present day, the 2026 Winter Olympics.
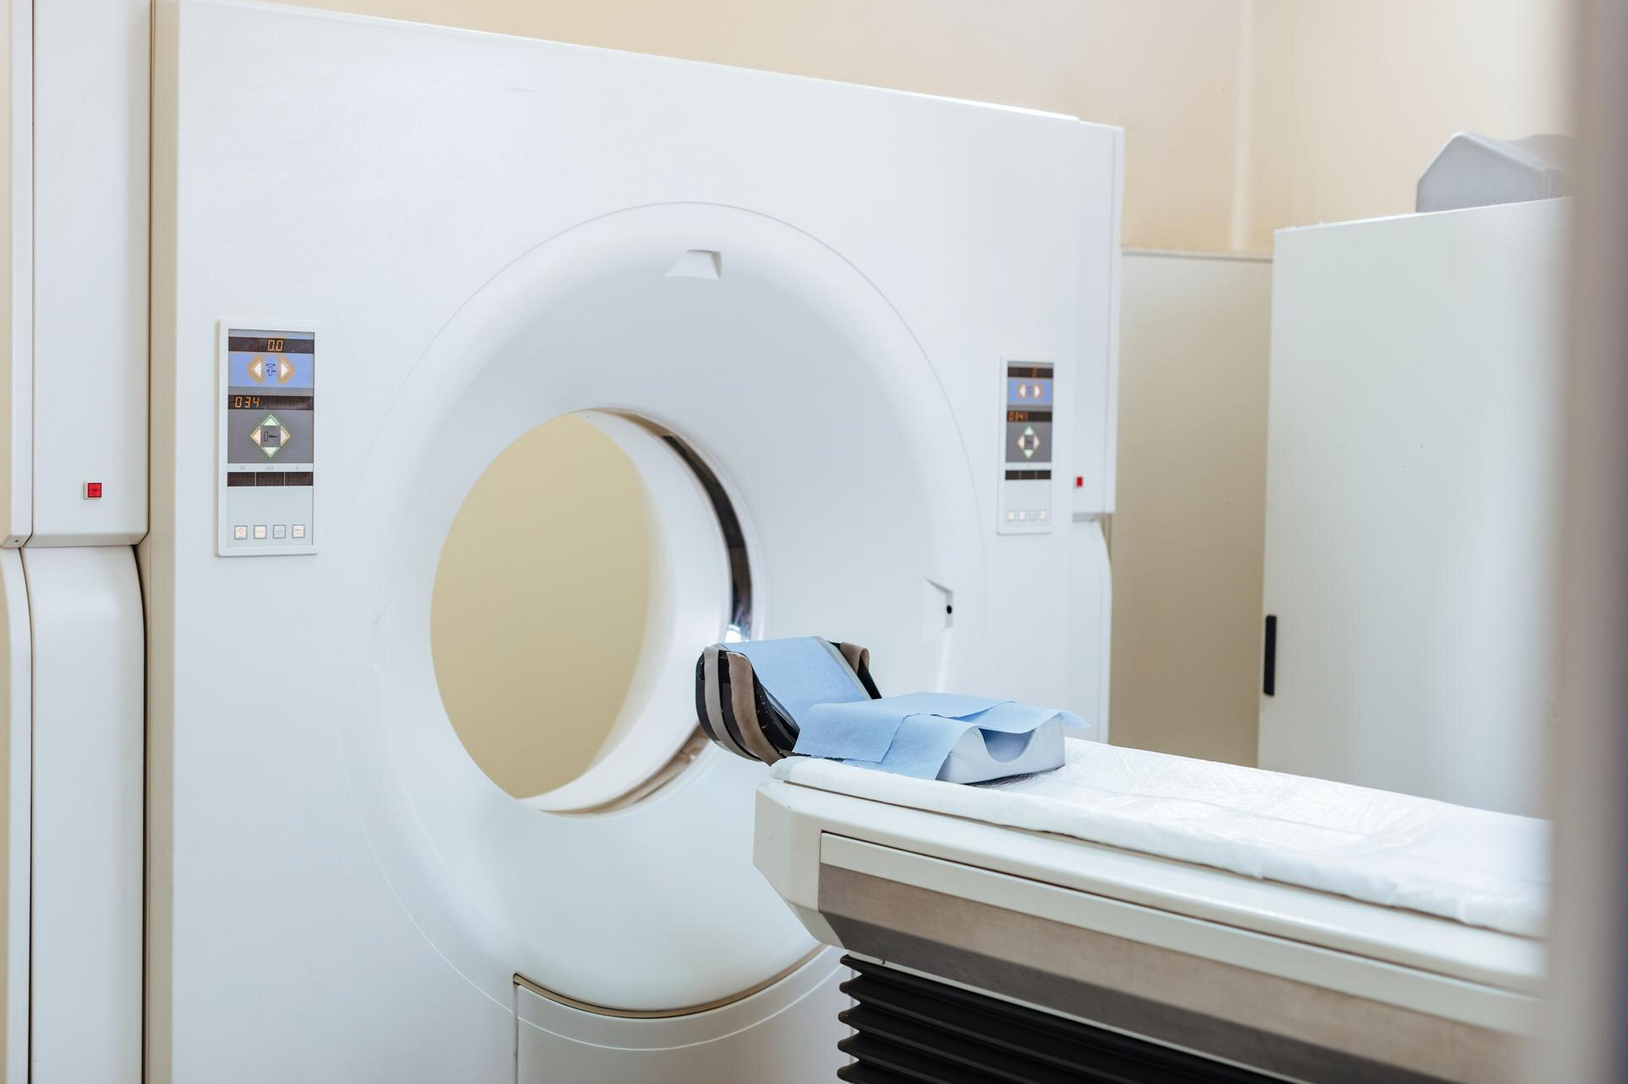
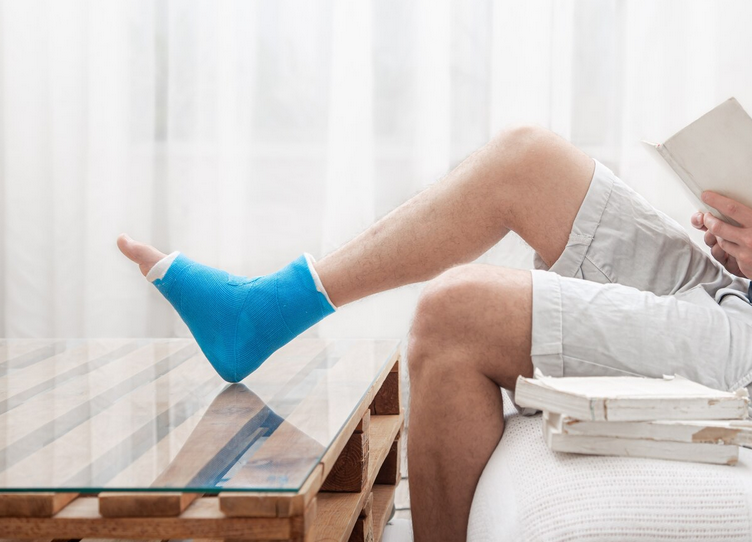
At the World Cup in Jan 2026, she crashed and had to be airlifted off the mountain. Later, it was revealed that she had ruptured her left knee’s ACL. Despite this, she communicated her intent to still compete in the Olympics 1 week later. Unfortunately, at the Olympics, she had another crash where she had to be airlifted off the mountain. Afterwards, she stated that she had suffered a complex tibia fracture requiring several rounds of surgery.
How did Lindsey Vonn manage to compete with her injuries?
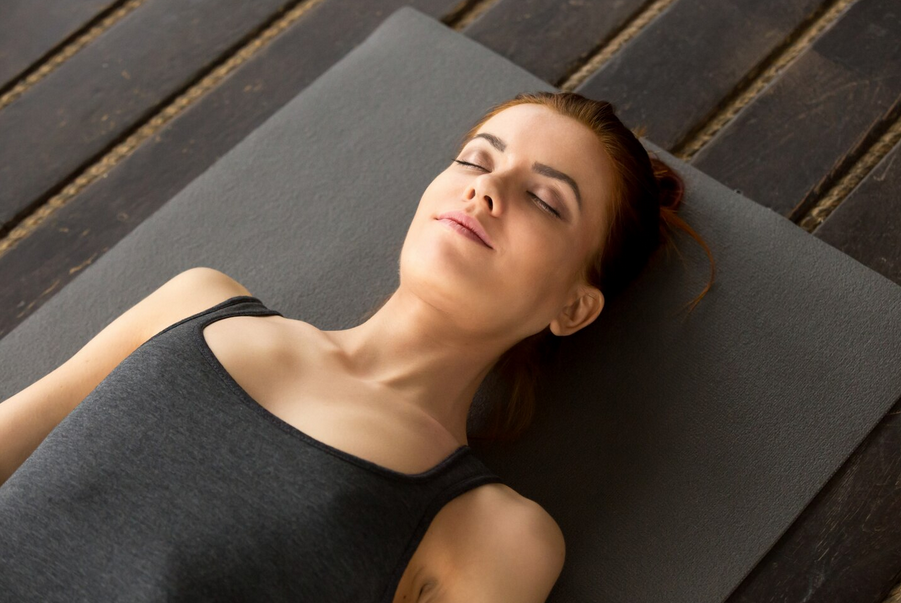
A case like Lindsey Vonn’s is instrumental to showing the importance of sports rehabilitation. Throughout her career, she sustained multiple serious knee injuries, including anterior cruciate ligament (ACL) tears, medial collateral ligament (MCL) injuries, tibial plateau fractures, and meniscal damage. She underwent several reconstructive surgeries, particularly on her right knee.
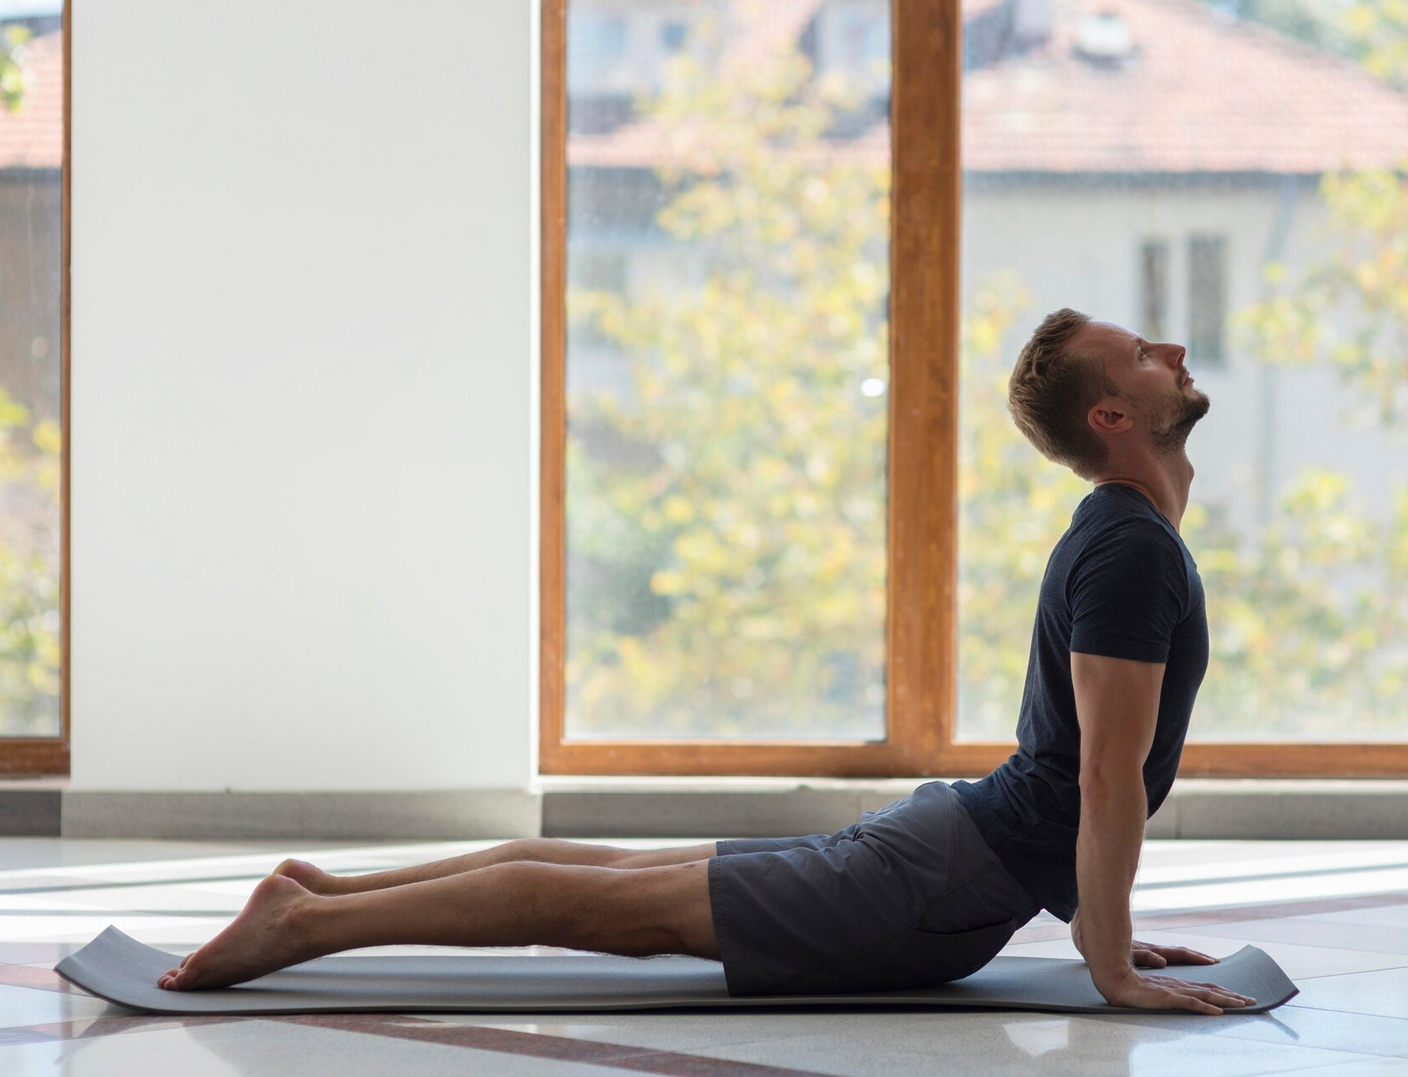
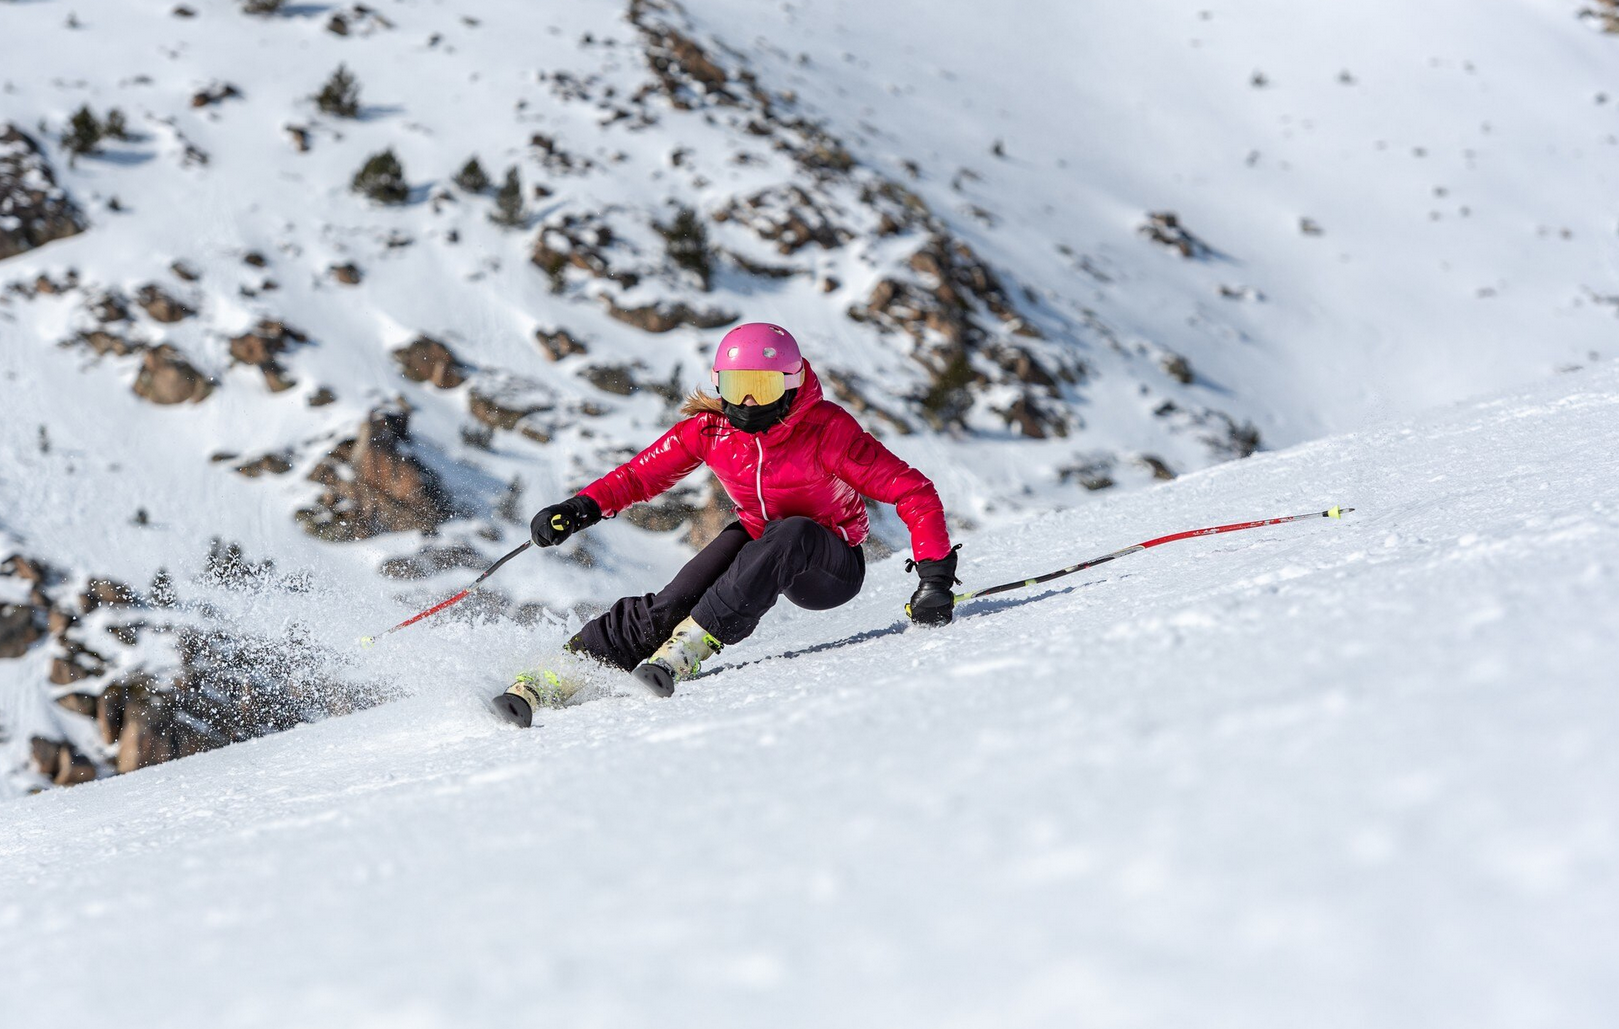
High-level alpine skiing places extreme forces on the knee joint. For example, cutting, rapid deceleration, torsional loads, and high-speed turns require not only strength, but joint stability and proprioception. Returning to competition after ligament reconstruction demands months of structured rehabilitation, often 9-12 months or longer. Her career illustrates that prior injury does not automatically end athletic performance, but it does require lots of dedication to a rehabilitative program.
How did Lindsey Vonn’s pre-existing injuries affect her?
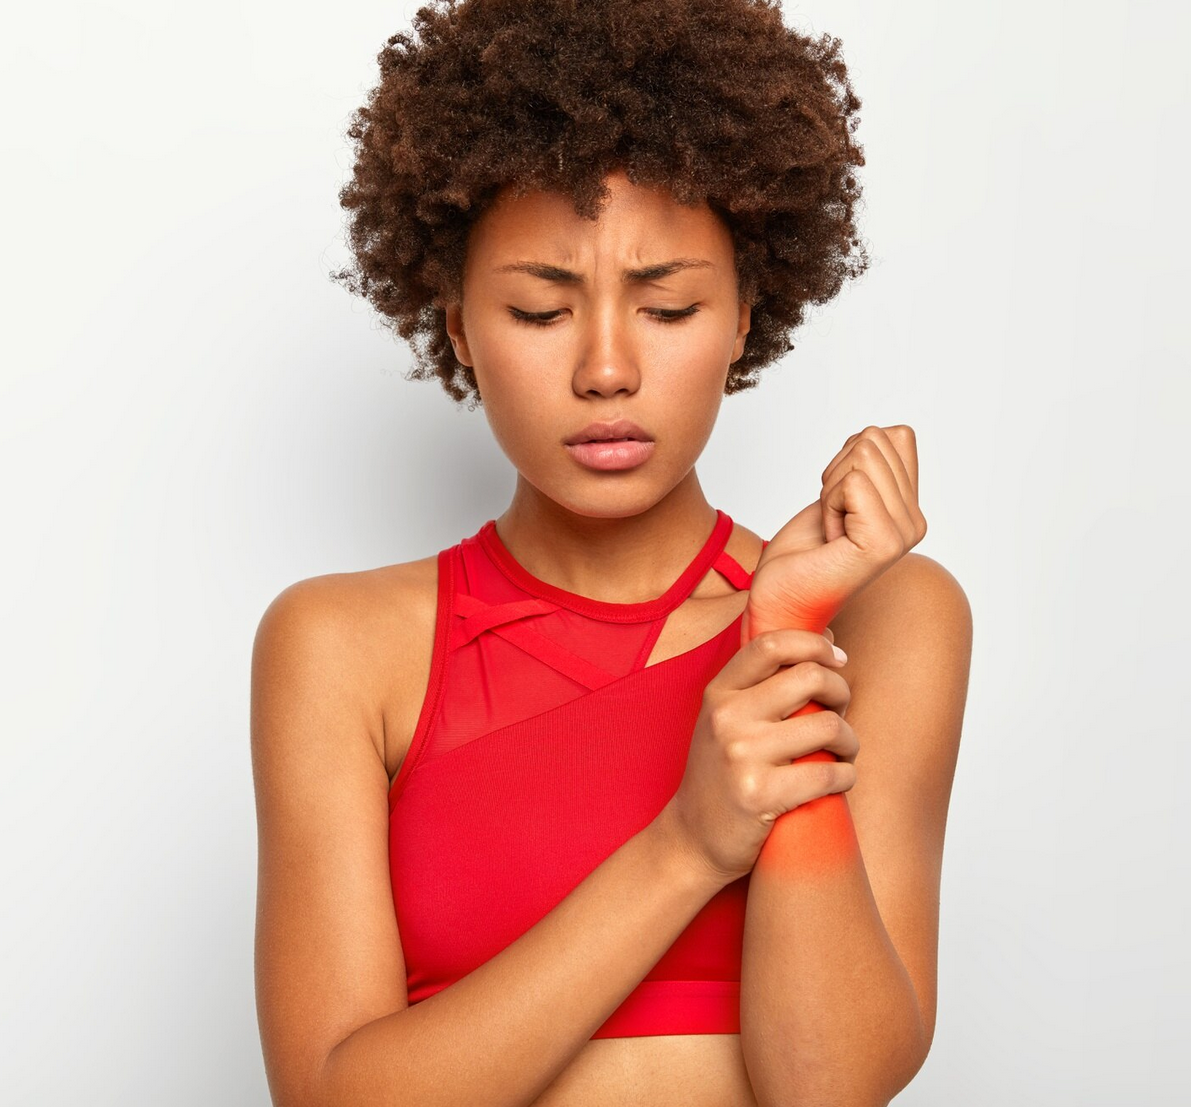
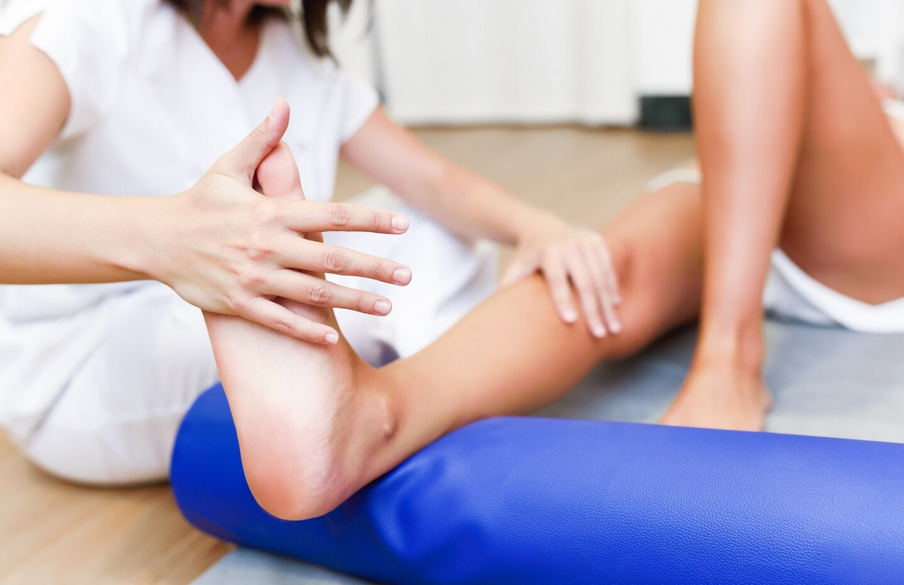
Previous injuries pre-dispose athletes to further injuries, due to changes that happen through out the body. For Lyndsey Vonn, the rupture in her ACL tendon definitely affected the strength and stability around her knee. Some of these changes include:
1. Strength asymmetries
Muscles around the injury tend to get weaker. For example, quadriceps inhibition and hamstring weakness are common long-term consequences of knee injury. Even subtle asymmetries can affect force generation during high intensity sports and movements.
2. Proprioception and neuromuscular control
Tissue injury disrupts mechanoreceptors responsible for the sense of proprioception, or joint position awareness. This awareness gives your joints stability which is especially important during movements like pivoting and cutting.
3. Load tolerance
Cartilage and meniscus damage can reduce shock absorption capacity. Sufficient strength and coordination of muscles must be retrained to compensate
4. Psychological readiness
Fear of reinjury (kinesiophobia) is a well known barrier to return to sport, whether you’re a competitive or recreational athlete. Confidence in your body and its ability to resist injury is necessary to achieve your full potential.
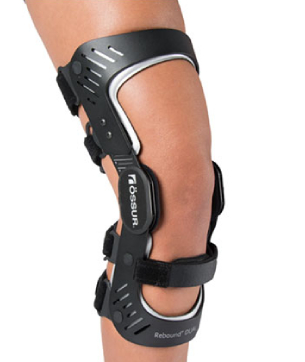
In Vonn’s case, repeated returns to elite skiing required not just healing, but continuous adaptation. Competing with a history of knee reconstruction often means meticulous strength programming, external bracing support, and careful monitoring of training volume.
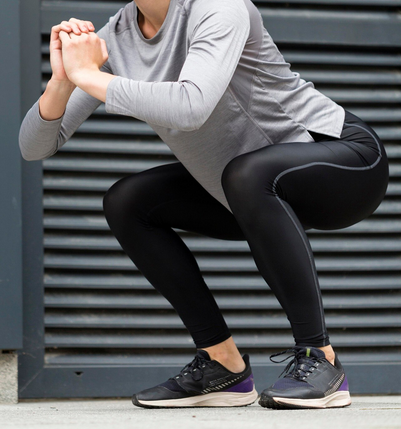
What does this mean for a recreational athlete?
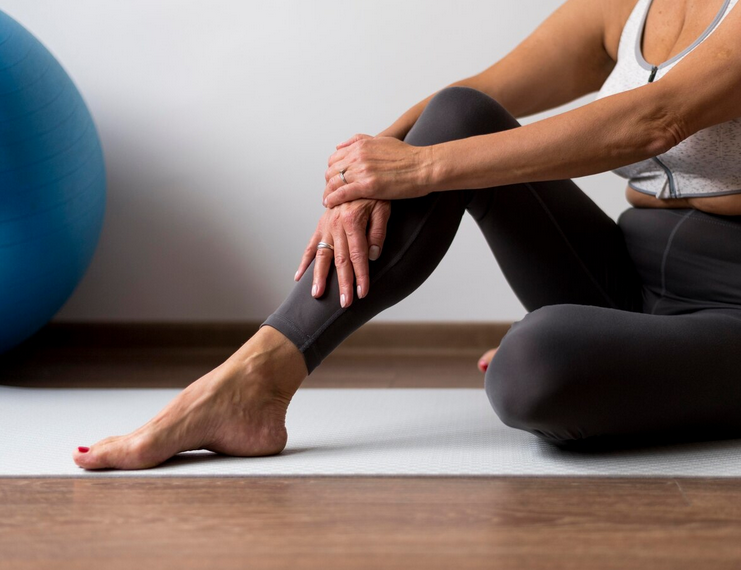
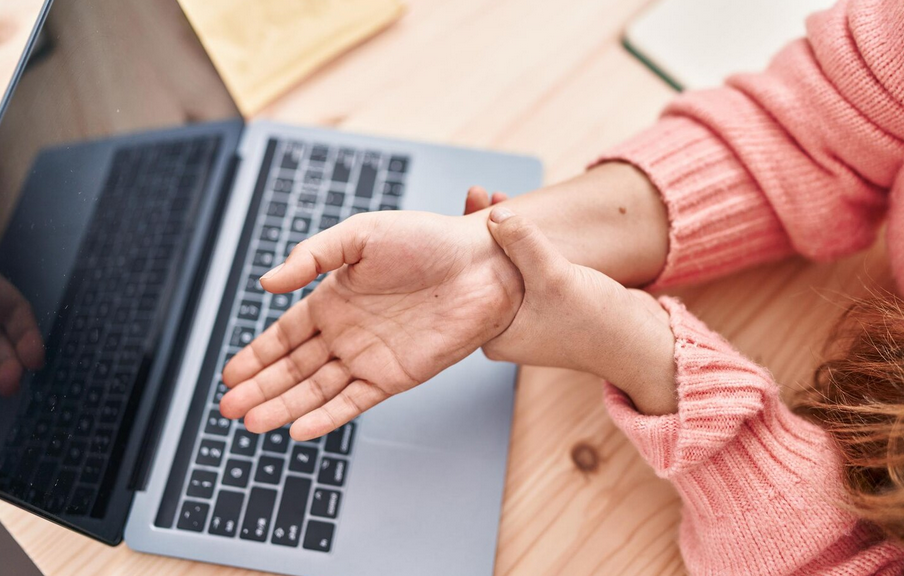
Even if you’re not at an elite level for sports, you should still rehabilitate each of your sports injuries. Not only will it reduce your risk for future injury, but it can help you achieve new levels of performance. Many recreational players experience similar injury patterns. For example, ACL tears, meniscal injuries, ankle sprains, rotator cuff tears, and stress fractures are common across many sports including soccer, basketball, skiing, running, and CrossFit.
A common misconception is that once pain decreases, the injury has resolved. In reality, pain reduction often precedes full tissue healing and neuromuscular recovery. Returning to sport too early without restoring the necessary strength and control, can create a cycle of recurrent injury.
If you have a pre-existing sports injury, consider:
- Are both sides equally strong?
- Can you perform single-leg movements with control?
- Can you perform all the necessary movements of your sport?
- Do you have the endurance to play a full game/session of your sport?
- Do you have the same jumping/hitting power as before the injury?
- Are you following a structured strengthening program?
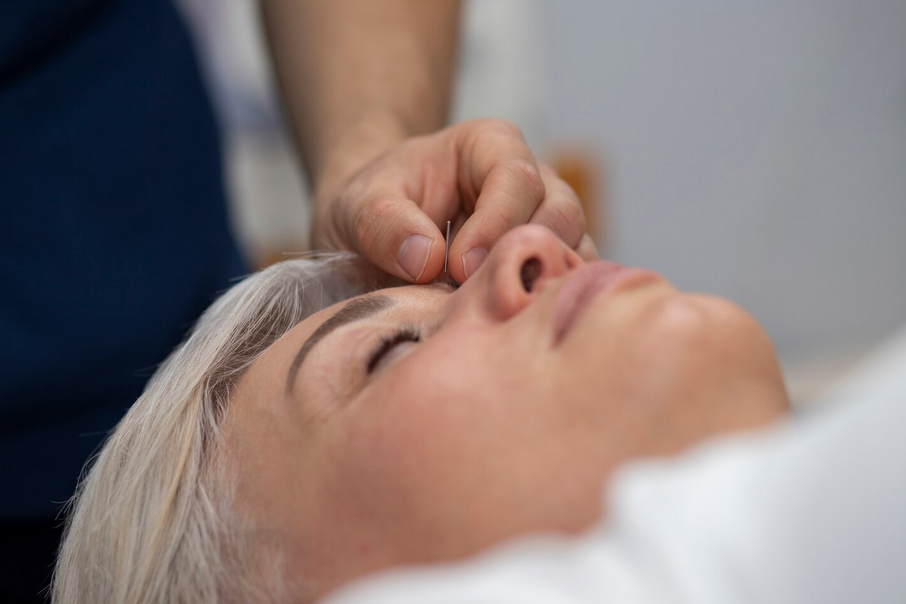
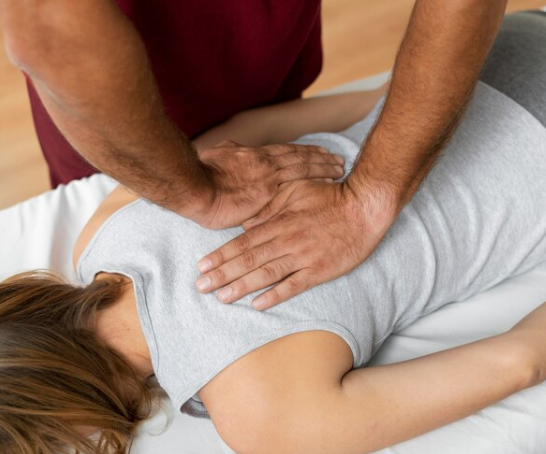
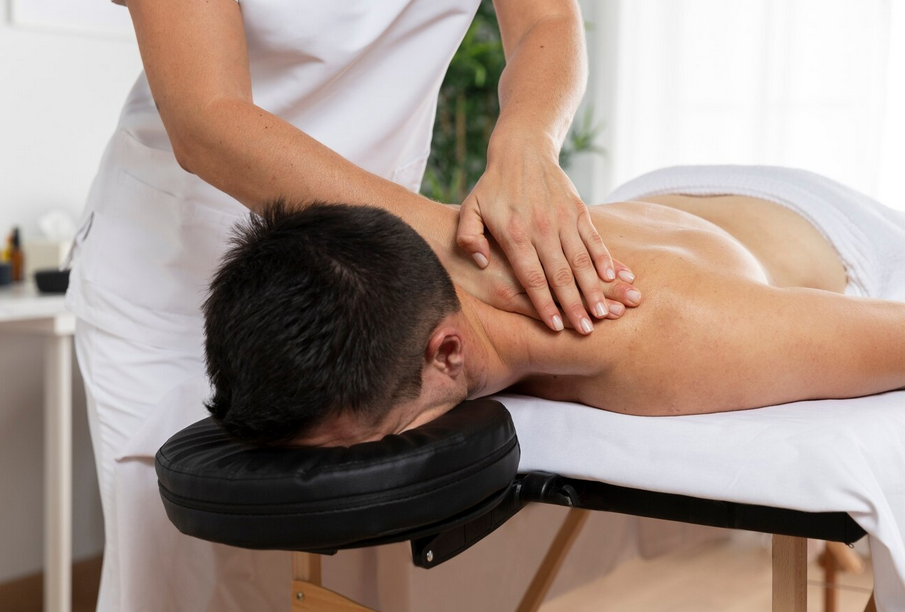
Sports physiotherapy addresses these gaps systematically.
Need help with a sports injury?
Then look for PhysioNow! Lindsey Vonn’s career is proof that sports injuries do not have to be the end. If you have suffered a recent or even a long time injury that’s affecting or stopping you from playing or participating, there is help. Our expert physiotherapists are avialable at 10 locations across the west GTA from Burlington, Oakville, Mississauga, Etobicoke, and offer Physiotherapy, Massage Therapy, Manual Osteopathy and more! Book with PhysioNow today for your first assessment and treatment!