Back injuries are one of the most common workplace complaints, especially in jobs that involve lifting, moving, or carrying heavy objects. Prevention of back injuries and being proactive can help reduce workplace stress, missed hours, and healthcare costs. While the human spine is incredibly strong and flexible, improper lifting techniques combined with repetitive strain can lead to painful conditions. This includes muscle strains, herniated discs, or even chronic lower back pain.
Why do back injuries happen during lifting?
Back injuries typically occur when:
- You lift with poor posture (rounded back or twisted spine)
- The load is too heavy or awkwardly shaped
- You make sudden or jerky movements
- You repeatedly strain the same muscles without rest or proper technique
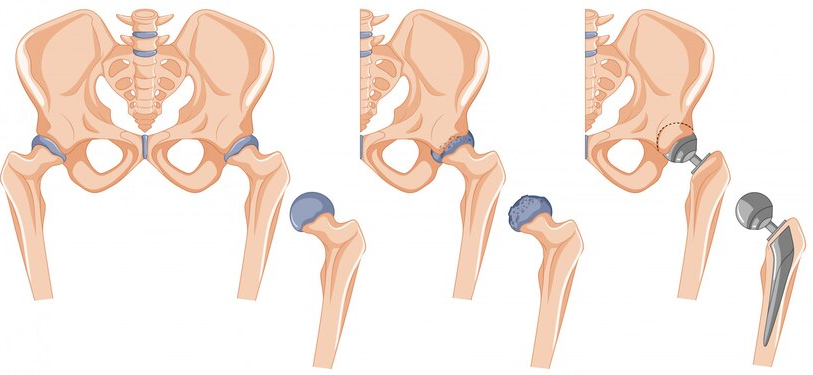
The injury can happen to the muscles, ligaments, discs and more. The key to preventing these injuries lies in ergonomic/posture awareness, strength training, and practicing safe lifting mechanics.
How can I prevent back injuries?
1. Plan out your lift
Before grabbing any heavy item, pause and assess the situation. Ask yourself:
- How heavy is it?
- Can I lift it safely on my own or should i get help?
- Is there a clear path to move it?
- Do I need help or equipment (e.g., trolley, dolly)?
Rushing increases the risk of poor posture and injury. Take a couple extra seconds to setup the lift and carry properly to save yourself a lot of pain and effort! Preventing back injuries is better than treating them!
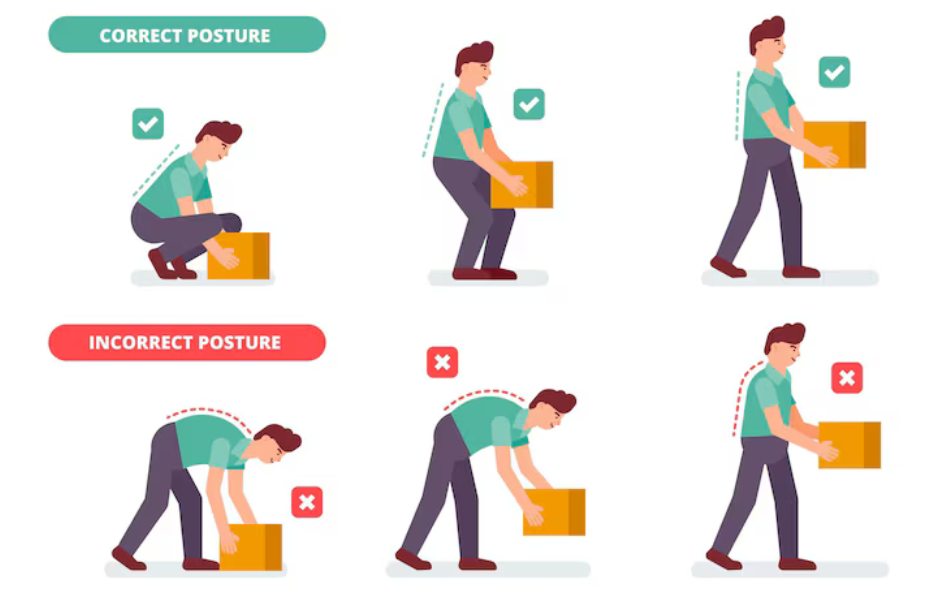
2. Get into the proper position
Start with the right stance:
- Feet shoulder-width apart for balance
- One foot slightly ahead of the other
- Stand as close to the object as possible
- Keep your back straight and chest up
- Avoid twisting your spine
This phase all occurs before the weight is even being picked up. A proper starting position is essential to starting the lift.
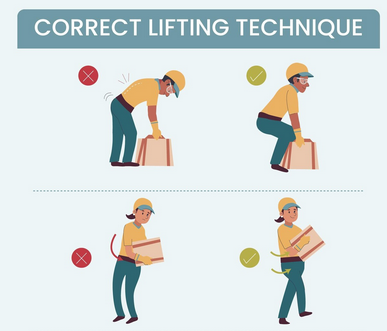
3. Start the lift with your legs, not your back
We’ve all heard this statement before, this is the golden rule for lifting.
As you now initiate the lift:
- Bend at the knees and hips, not your waist
- Keep the object close to your torso the entire time
- Tighten your core muscles before lifting (bracing)
- Push through your legs as you stand up
4. When transporting the load
If you have to move the load somewhere, don’t twist your back. Use your legs to turn or pivot. Ensure the weight stays close to your body, even as you’re putting it back down. Holding a heavy object away from your body increases strain on your spine and can lead to sudden injury.
Keep the load:
- At waist level
- Close to your center of gravity
- Balanced between both hands
5. Know when to ask for help

Possibly the most important step, there’s no shame in asking for assistance. Team lifting is far safer than straining by yourself and will get things done quicker.
Use:
- Mechanical aids (trolleys, carts, hoists)
- Lifting straps or handles
- A coworker to share the load
6. Take care of your body outside of work

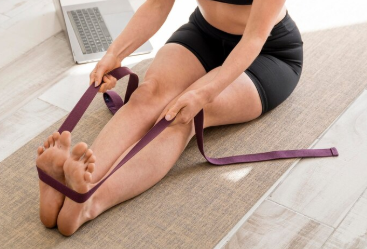
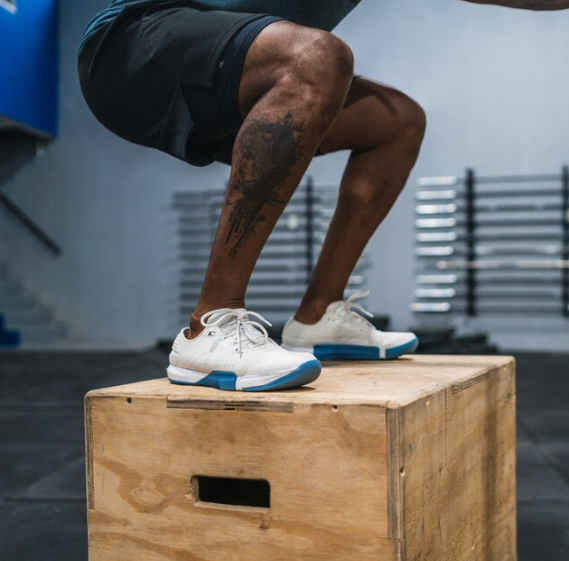
Even the best lifting technique won’t help much if your muscles and joints can’t keep up. Physiotherapists recommend targeted exercises to support spinal health including both strength and flexibility. Strengthening your core, lower back, legs, and arms will ensure you have a stable base of support to start a lift from.
Some examples could include:
- Planks (and side planks)
- Glute bridges
- Bird-dogs
- Dead bugs
- Squats
Looking to treat or prevent back injuries?
Look for PhysioNow! We offer comprehensive Physiotherapy treatment to support your lower or mid back pain, injury, or rehabilitation. With 10 locations across the GTA from Burlington, Oakville, Mississauga to Etobicoke, our clinics are ready to serve you! Find out why we’re one of the leading Physiotherapy clinics in the GTA. Book your first assessment and treatment with PhysioNow today! We accept both WSIB claims or private insurance claims!